TRP Cycling
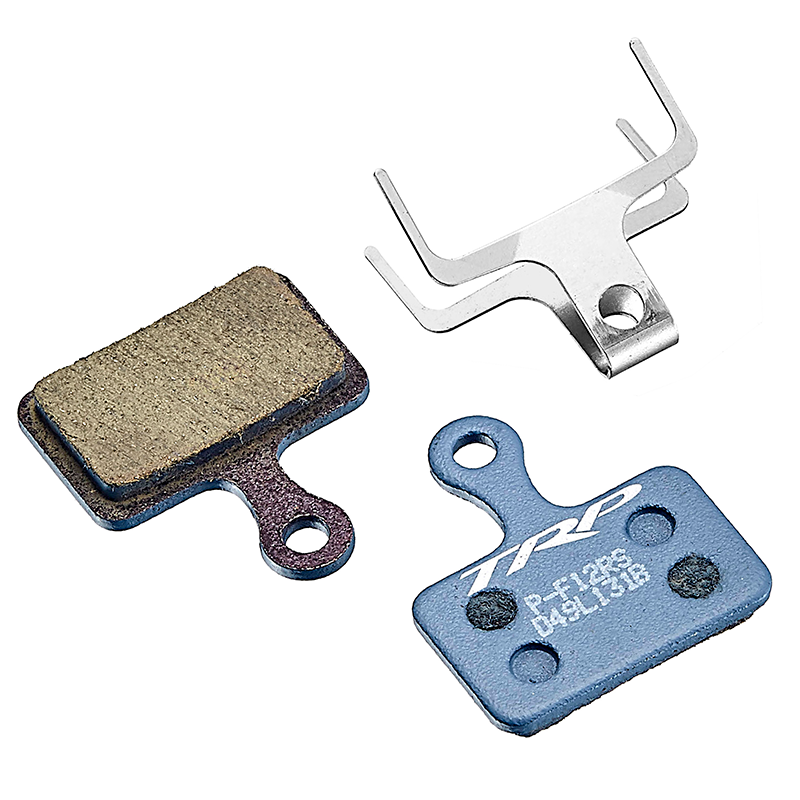
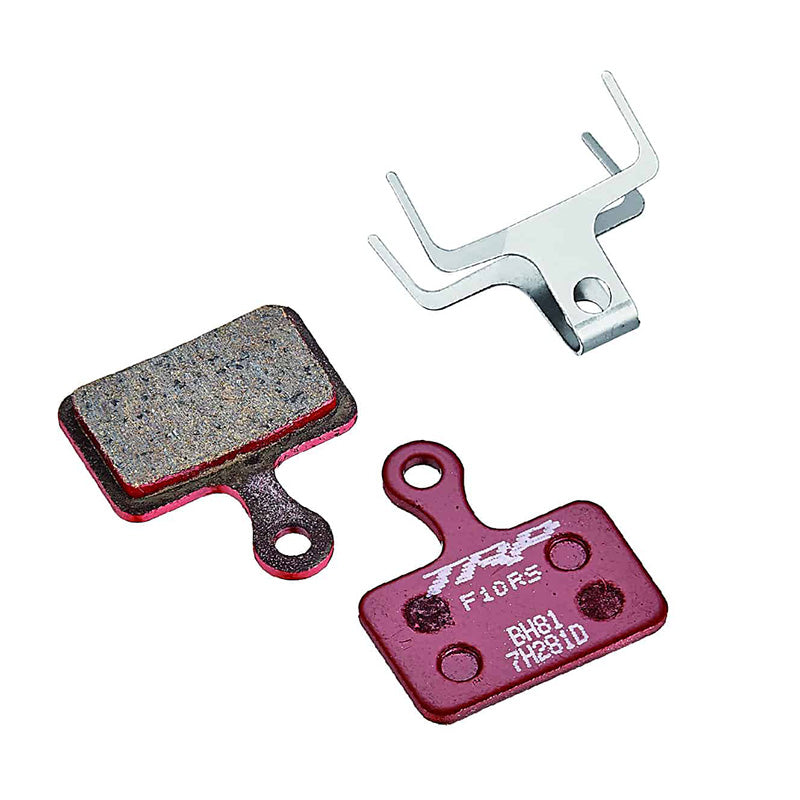
TRP Flat Mount Semi-Metallic Pads
A pad that splits the difference between our blue and copper compounds giving a nice balance of modulation and long lasting wear. Best for those looking for a quiet braking experience and a subtle onset of power.
✓ Fits all TRP 4-piston calipers · One set services one wheel
TRP Flat Mount Semi-Metallic Pads
TRP Cycling/ Tektro USA
688 West Amidan Drive
BLDG 4X-1
Ogden UT 84404
United States
01
Consistent Power
Predictable braking performance from the top of the trail to the bottom
02
Quiet Performance
Low-noise braking for a smoother, more refined ride
03
Balanced Control
Linear power delivery provides predictable control across changing terrain.
WHAT OUR ATHLETES SAY ABOUT TRP PADS
Red pads are my choice when I'm riding really steep, technical terrain. They give me that strong, immediate bite and serious stopping power when I need to control speed fast.
The Red work great and last a little bit longer. I actually run these when i'm at home without my mechanic just bangin out tons of bike park laps.
I get more life out of the Red pads, and I like the softer initial bite compared to the Blues. The power comes on more gradually, giving me a more linear and controlled feel, especially on the front brake.
I really like the semi-mettalic pads They are reliable and last me a lot longer that the other options. I'm not having to change out my pads as often as some of the other compounds.
✓ HD-T910/ T912
✓ Hylex (HD-S8121E, HD-S8120E, HD-C8110)
✓ Hylex RS FM
Don't see your brake? Check our compatibility Chart HERE
The process for bedding in brake pads is simple and it can be done anywhere you have consistent grip on your tires. Ideally, you are looking for a long stretch of asphalt or concrete that is flat or has a slight downhill grade to help carry momentum. Make sure you are applying enough pressure on the brakes to consistently slow the wheels without locking the brakes up or coming to a complete stop. The goal of this being to lay down pad material onto the rotor in a consistent and even manner.
Once you have your chosen location, follow the steps below for the perfect bed:
For new Semi- Metallic pads (Red) and new rotors:
Step 1: Shift bike into a climbing gear while bike is in stand. On flat ground, pedal bike while dragging both front and rear brakes at constant pressure for 5 minutes. Do not lock brakes. This will lay an initial material down. They will start to get progressively stickier as you drag them.
Step 2: 7-9 rolling stops going from 15 mph down to 5 mph on the front brake only.
Step 3: 7-9 rolling stops going from 15 mph down to 5 mph on the rear brake only.
Step 4: 7-9 rolling stops going from 20 mph down to 5 mph while pulling both brakes.
Step 5: Go ride!
For new Semi- Metallic pads (Red)on a used rotor:
Step 1: 6-8 rolling stops going from 15 mph down to 5 mph on the front brake only.
Step 2: 6-8 rolling stops going from 15 mph down to 5 mph on the rear brake only.
Step 3: 6-8 rolling stops going from 20 mph down to 5 mph while pulling both brakes.
Step 4: Go ride!
Which Pad is right for you?
Compare our brake pad compounds to find the right fit for your riding style.